User guide
How to use Autopack in Jira Cloud
This guide walks through the end-to-end workflow: install → configure → close an incident → review the draft → approve → action items get created and linked back to the incident.
Audience
- Jira admins (install/config)
- Incident owners (review/approve)
- SRE / platform teams (postmortem follow-through)
Contents
Prerequisites
- Jira Cloud site admin access (to install + configure apps).
- A Jira project where incidents live (e.g., an incident issue type in JSM, or a dedicated “Incidents” project).
- Agreement on what “closed” means for your team (status category “Done” or explicit status names).
- Permission to create action-item issues in a target project (usually the same project as the incident, but it can be separate).
Getting started (quick checklist)
Jira admin
- Install Autopack on your Jira site.
- Configure: incident project(s) + issue type(s).
- Configure: what counts as “closed” (Done category or status names).
- Configure: where action items should be created + link type.
Incident owner / reviewer
- Close the incident in Jira.
- Review the generated draft comment.
- Ensure the Action items section contains bullet points.
- Approve in the Issue Panel (View app actions → Autopack → Approve draft).
- Fallback: comment
autopack approveat the start of a comment. - Confirm action items were created + linked, and assign owners if needed.
Beta install note
During private beta we may install Autopack via a development/preview flow rather than the Marketplace. The workflow inside Jira is the same.
Install (Jira Cloud)
Where to find “Manage apps”
In Jira Cloud, the most reliable entry point is the Universal Plugin Manager (UPM):
https://YOUR-SITE.atlassian.net/plugins/servlet/upm
Replace YOUR-SITE with your Jira site subdomain. From there you can search for Autopack, install/enable it, and manage versions.
Permissions & access
- Autopack needs access to read incident details, changelog, and comments to generate the draft.
- To create action items, Autopack needs permission to create issues in the configured action-item project.
- If action items are created in a different project than the incident, confirm permissions in that target project (issue create + link).
Configuration reference (v0.1)
- Scope: project keys + incident issue types
- Close detection: status category “Done” (recommended) or explicit status names
- Enable label (optional): only run when label is present (e.g.
autopack) - Action items: target project + issue type + link type + max items
- Ownership defaults: assignee strategy (inherit) + due date offset (e.g. +7d)
Workflow (high level)
1Install + configure
Pick your incident projects/types and where follow-up tasks should land.
2Close incident
Move the incident to your configured closed status.
3Autopack generates draft
Draft + evidence timeline are posted and stored for safe processing.
4Human reviews
Make any edits and ensure the Action items section is correct.
5Human approves
Approve in the issue panel (Approve draft). Fallback: comment ‘autopack approve’.
6Autopack creates action items
Autopack creates Jira issues, links them back, and posts a receipt.
Step-by-step (with screenshots)
Install Autopack from ‘Apps’
Jira Admin installs Autopack on your Jira Cloud site (development/beta install flow differs from Marketplace).

Configure Autopack settings
Choose which projects + issue types are considered incidents, and where action items should be created.

(Optional) Add enable label to an incident
If you use an enable label (e.g., ‘autopack’), add it to the incident so Autopack runs only when desired.
Close the incident (transition to Done/Closed)
When the incident is moved to a ‘Done’ status category (or your configured closed statuses), Autopack generates a draft.

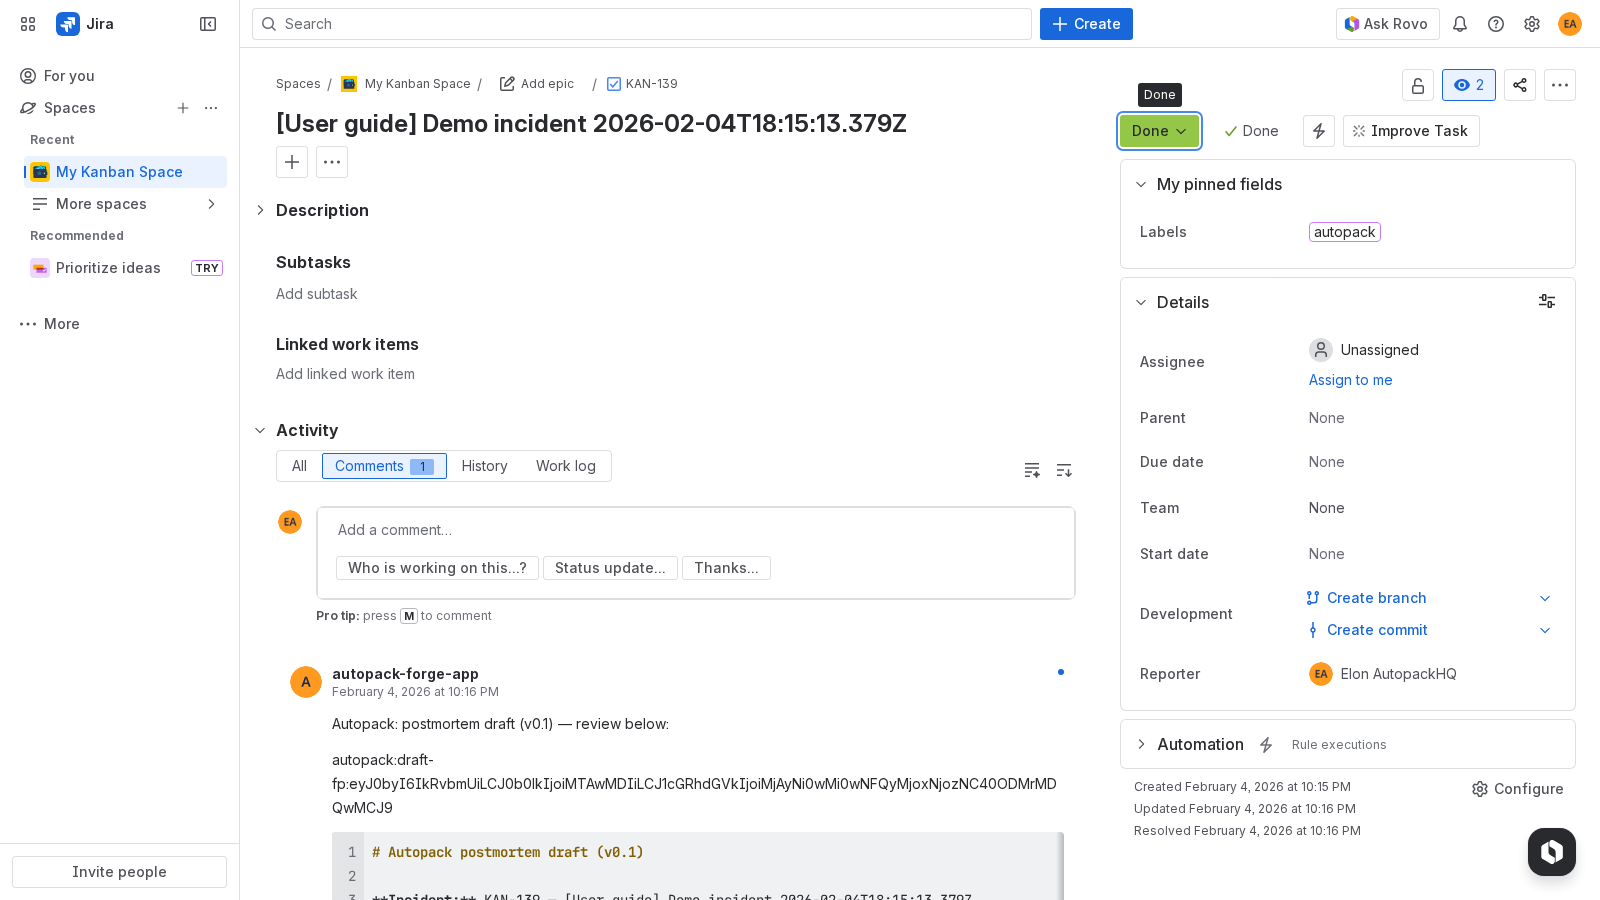
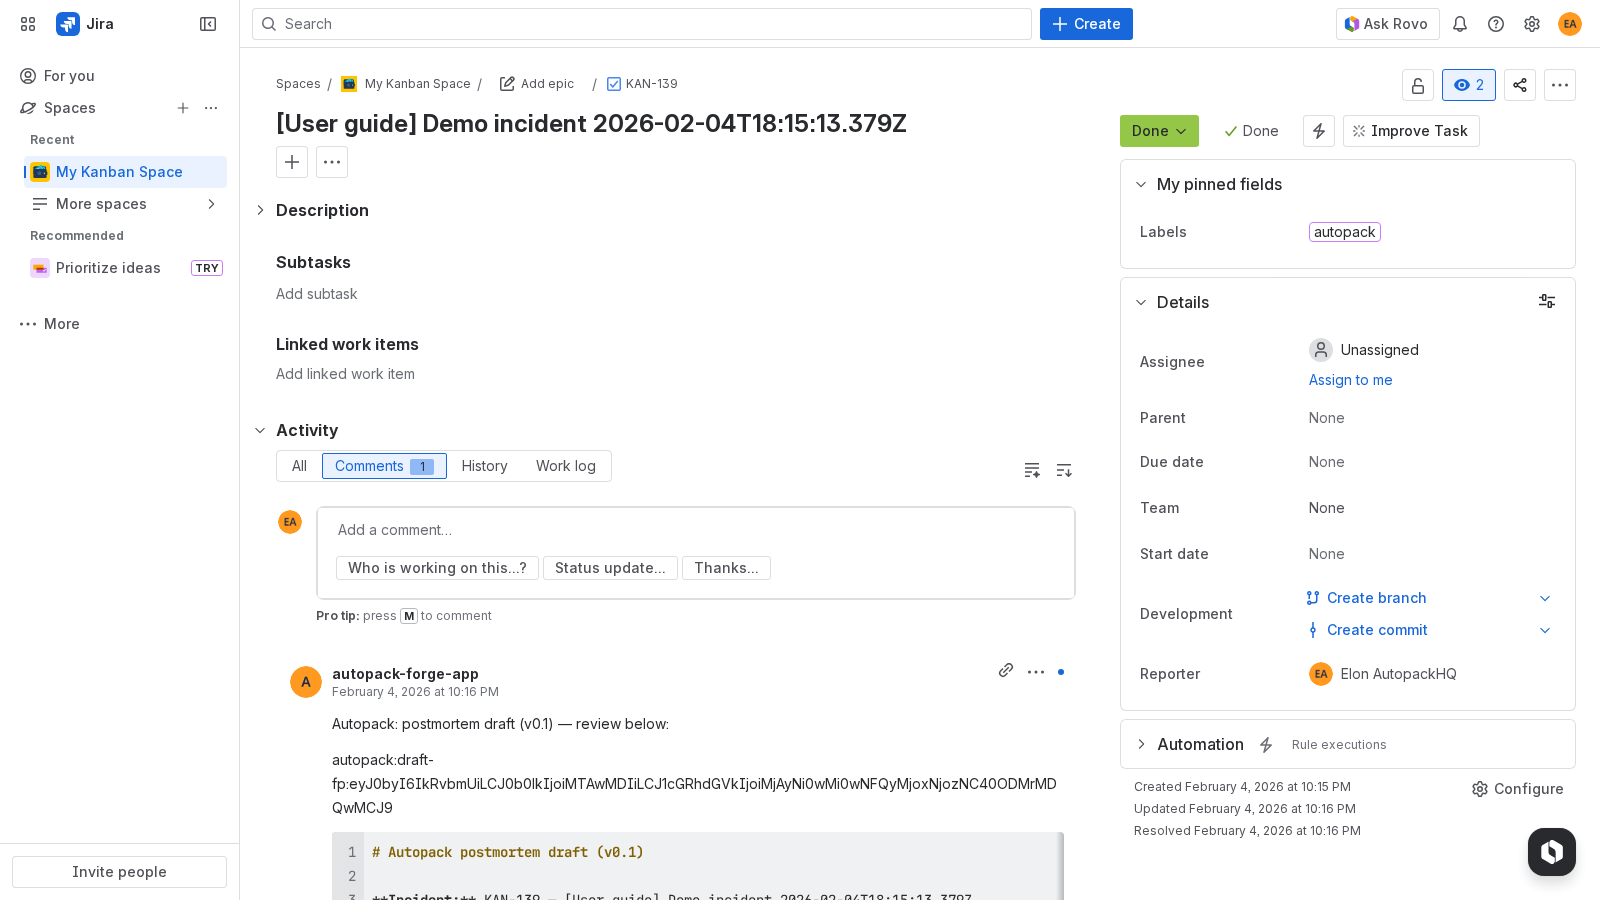
Draft is posted + stored
Autopack posts a draft comment and stores the full Markdown draft in an issue property for reliable follow-up actions.
Review and update the Action items section
Ensure the draft’s ‘Action items’ section contains bullet points (e.g., ‘- Do X’). Autopack creates one follow-up issue per bullet.
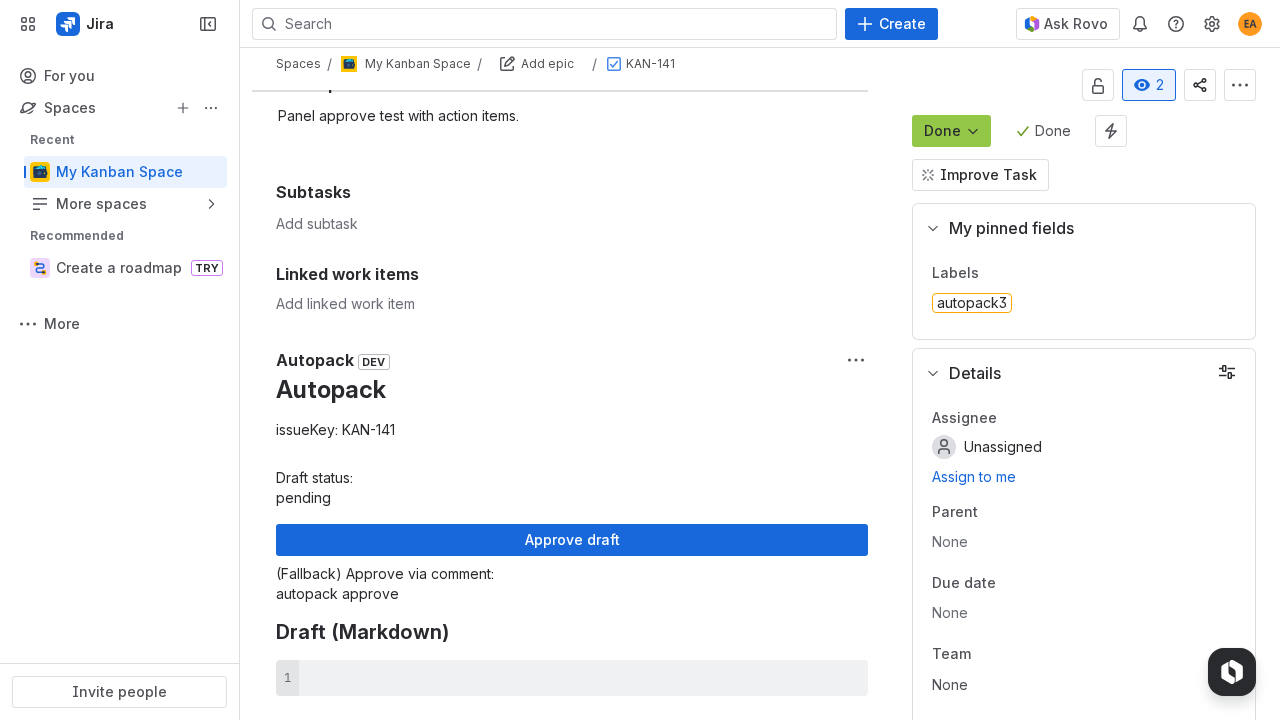
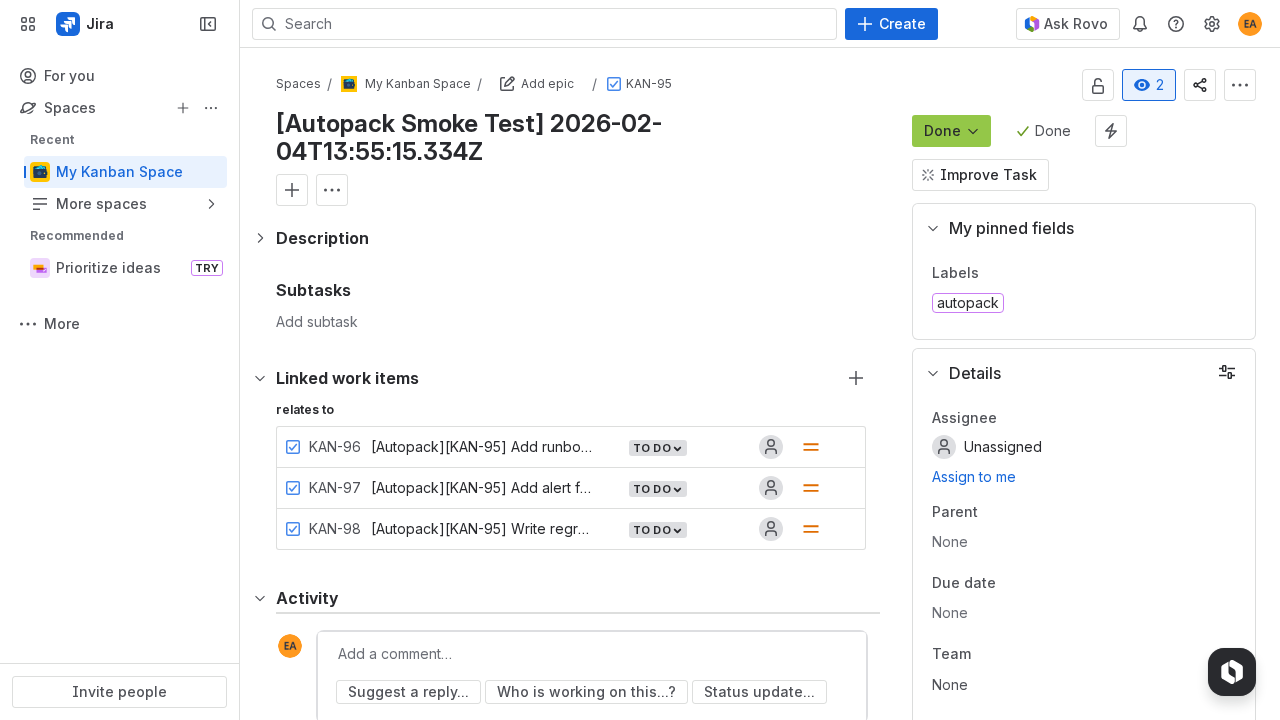
Approve in the Issue Panel
Open ‘View app actions’ → ‘Autopack’ and click ‘Approve draft’. (Fallback: add a comment that starts with ‘autopack approve’.)
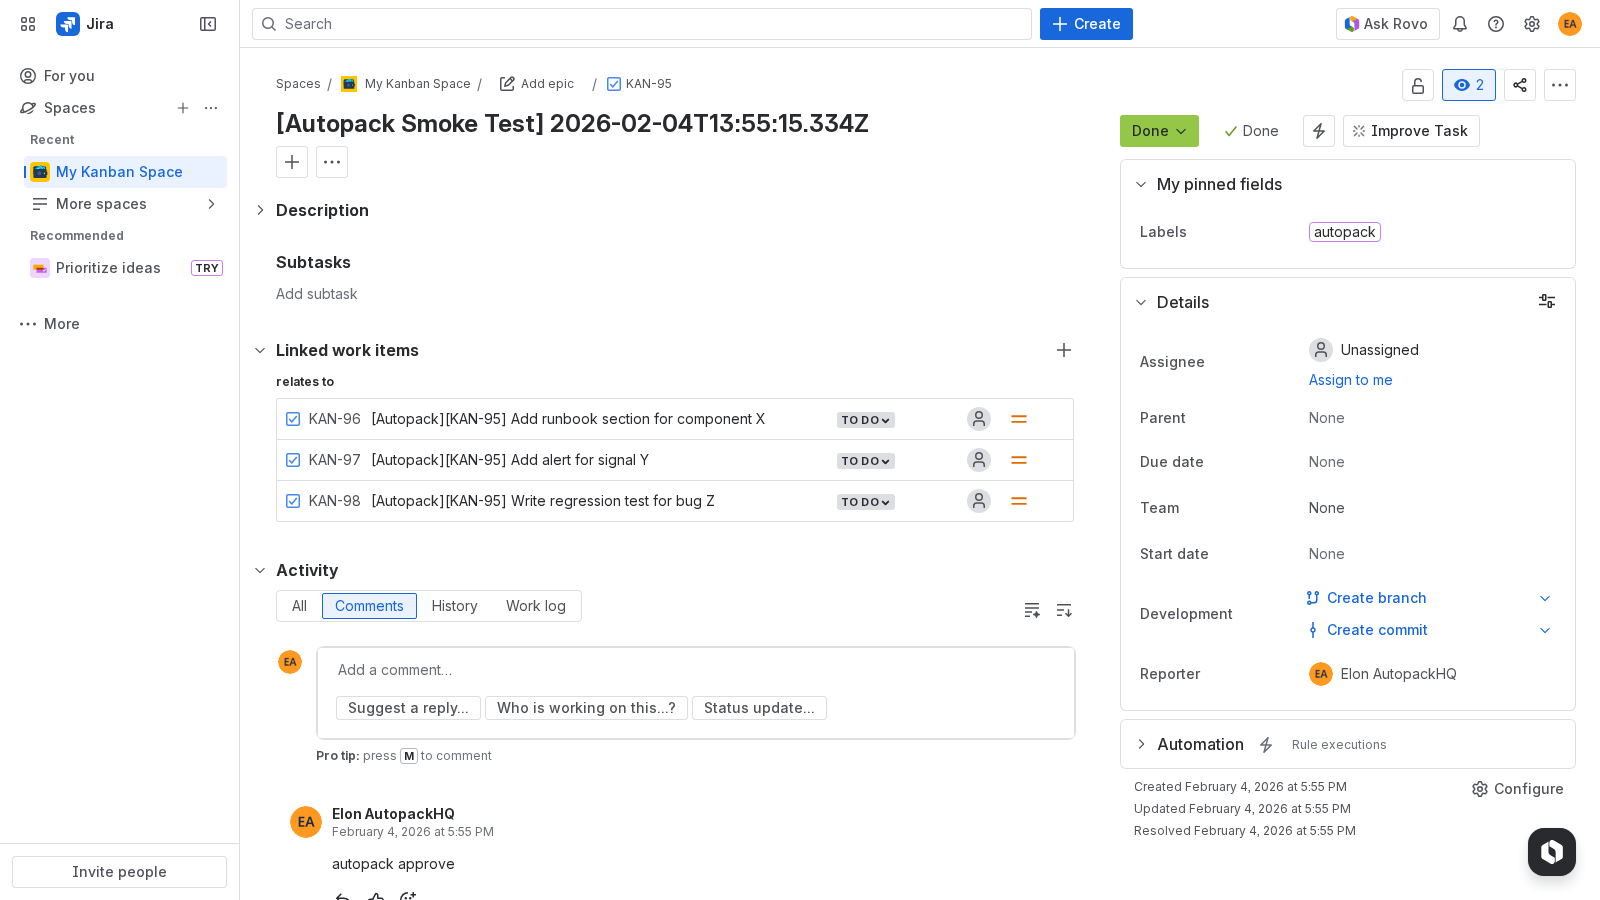
Action items are created and linked
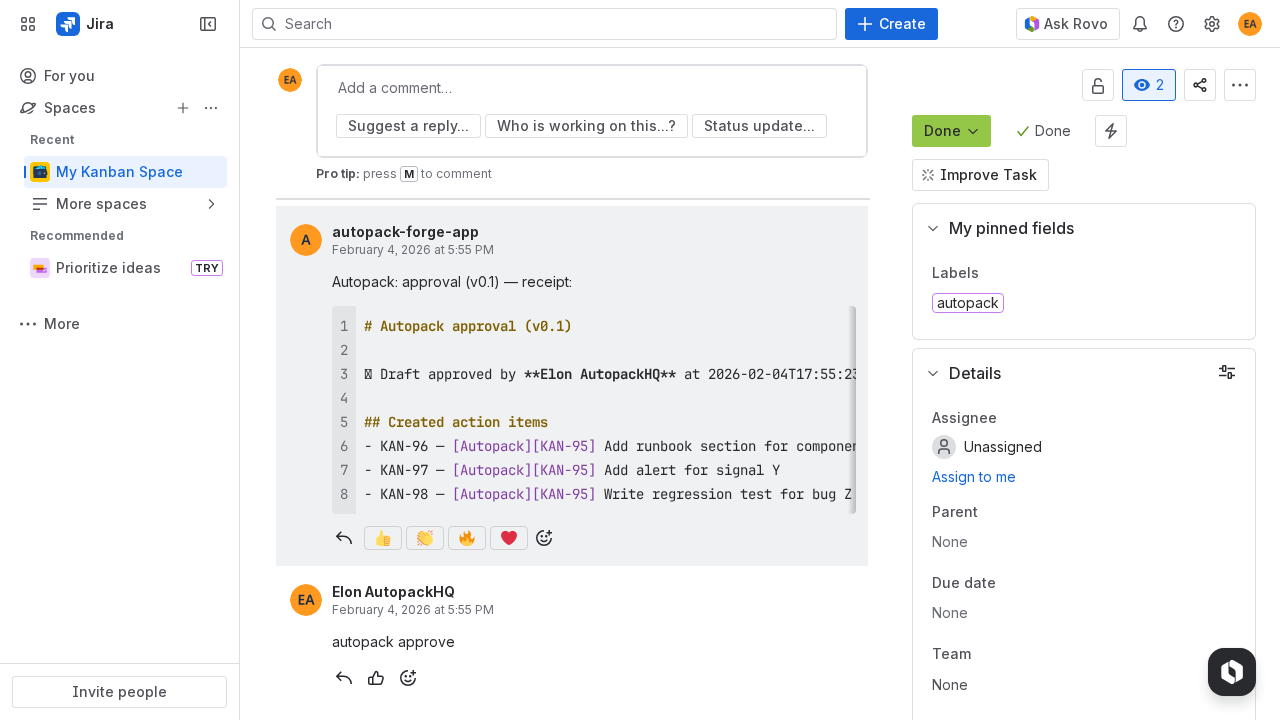
Autopack creates Jira Task issues for each action item bullet, links them back to the incident, and posts an approval receipt.
Approval receipt comment
Autopack posts a clear approval receipt (distinct from the draft header) listing created issues.
Troubleshooting
No draft generated after closing
- Confirm the incident matches configured project + issue type.
- Confirm the incident is transitioned into your configured “closed” definition (status category “Done” or explicit status names).
- If an enable label is configured, confirm the label is present on the incident.
- Wait 10–30 seconds and refresh — Jira events + comments can be eventually consistent.
Approval didn’t create action items
- Ensure the Action items section contains bullet points (e.g.,
- Do X). - Approve via the Issue Panel button first. Fallback: ensure your approval comment starts with
autopack approve(at the very start of the comment). - Jira search can lag; refresh and check the incident’s linked issues.
- If the action-item project/type differs from the incident project/type, confirm permissions in the target project.
Duplicates
Autopack is designed to be idempotent: re-approving should not create duplicates. If you see duplicates, report the incident key and we’ll investigate.